
Recently I was asked by a new Brisbane restaurant client to put together a list of tips to give to his chef’s, prior to our food photo shoot together. Regardless of how much a client may love to utilise the invaluable skills of a Food Stylist for their food photography, sometimes it’s just not financially feasible for them.
In this instance, I worked with my client and his team of chefs by putting some extra pre-production work in with them. This allowed his chefs more confidence in making their food ‘camera-ready’, as opposed to ‘customer-ready’. Below I have listed a few of the tips that I shared with them, which may also help other Brisbane/Gold Coast cafes and restaurants who need a good food photographer, but can’t also afford a food stylist just yet.
- Undercook your food. Properly cooked food looses moisture and shrinks as it cools. For camera, food only needs to not look raw. If you need to brown the meat off a little, apply heat with a kitchen torch. This goes for veggies too. For veggies, a quick blanching in boiling water followed by a dunk in an ice bath will hold the colour of the veggies and keep them looking succulent.
- For the camera, you need to take much greater care with your prep than you normally would for customers. Reject any ingredients that looks wilted, bruised or misshapen. Shortlist the most perfect, symmetrical ingredients available to you and have spares. Cut and slice with precision.
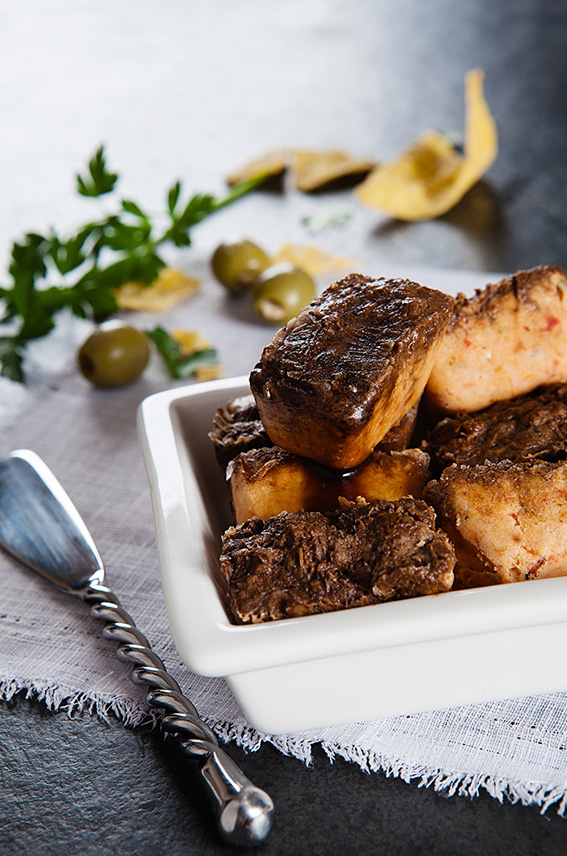
- When plating-up, consider plate scale and depth. If the crockery that the food is usually served on is so deep that we can’t penetrate the dish in the shot because the lip of the bowl is in the way, choose a shallower bowl or plate. Let the food be the hero of the shot – don’t detract from the food with your table items.
- All props used for each shot should have relevance to the dish. These can either contrast or complement.
- Small props work best, so they don’t attract the eye away from the food. Petite and interesting teaspoons, a small saucer, or a corner of a serviette ‘dropped’ strategically into the corner of the shot, for instance.
- Have ample and relevant garnishes on hand.
- For dishes that are usually glazed before being served, consult the photographer before glazing. Too much glaze can make the food look like rubber once lit and there are camera-friendly alternatives that I can offer.
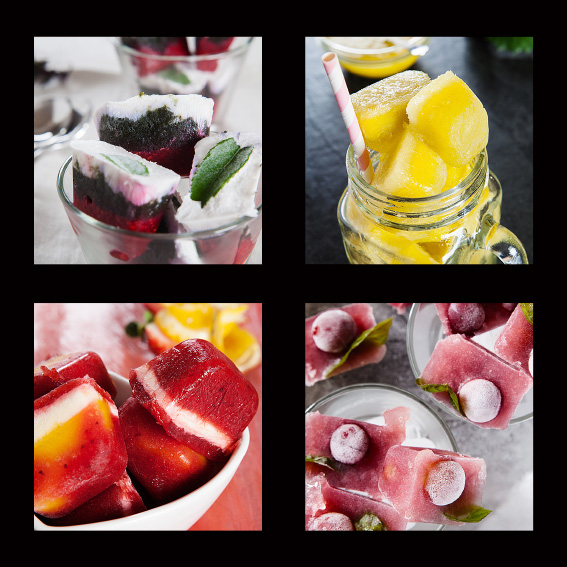
- If you have a large amount of prep to do pre-shoot and are concerned about fruits turning brown, cold water infused with lemon juice will prevent this.
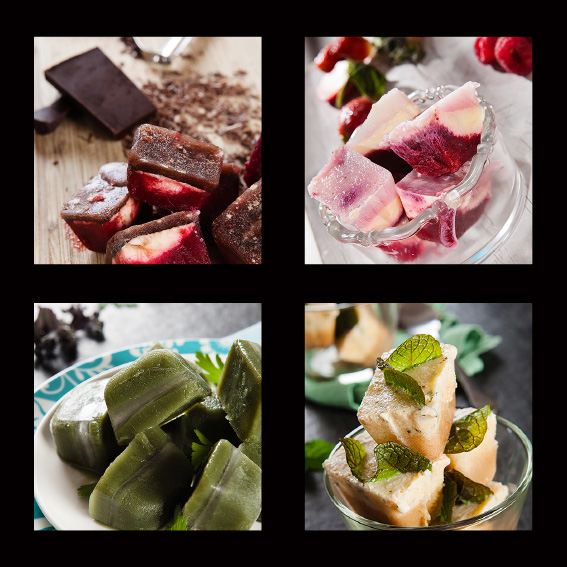
- If incorporating chocolate in a dessert, you can hit it with a hair dryer briefly before plating it up to be photographed. This will smooth out all the little ‘burs’ on the surface.
The list is virtually endless, but the above food styling tips will be a strong basis for a smooth shoot that will result in better food photography, as it will allow the photographer to focus on what they need to – the lighting.
By the way, any professional food photographer worth their salt, will also bring a food styling ‘box of tricks’, regardless of whether they’re working with a food stylist or not. So give me a call to discuss your food photography needs today. 😉
Subscribe to this blog to stay informed of more food photography and styling tips, and follow me on facebook.
Recent Comments